September 13, 2023

hanging the DNS for your domain is a straightforward process that involves the following steps:
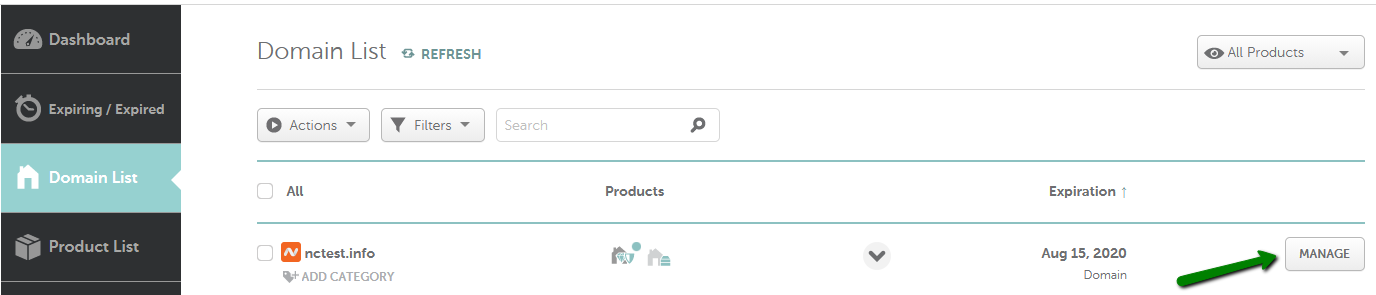
1. Log in to your Namecheap account.
2. From the left sidebar, select Domain List and click on the Manage button next to your domain:
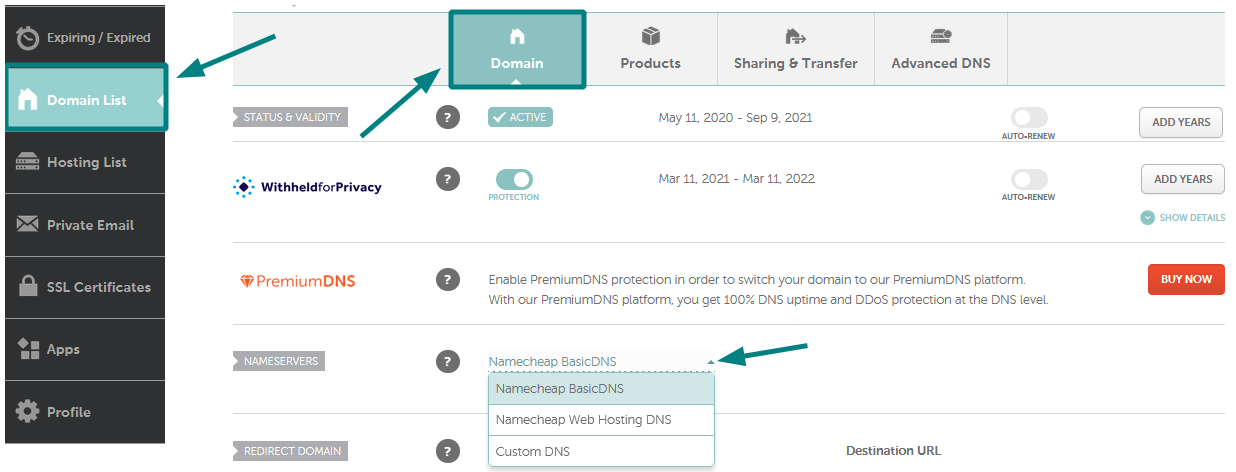
3. In the Nameservers section, select your preferred option from the drop-down menu and click on the green checkmark to save the changes:
NOTE: Nameservers are part of the Domain Name System (DNS) database that acts as a directory for devices and the IP addresses attached to them. When registering nameservers, an IP address is assigned to them, and unregistered nameservers cannot work correctly with some domains.
There are four options to choose from:
NOTE: Once the nameservers are changed, all the custom DNS records for your domain will be overwritten to our hosting ones. You can recreate them in your cPanel Zone Editor and Email Routing menu.